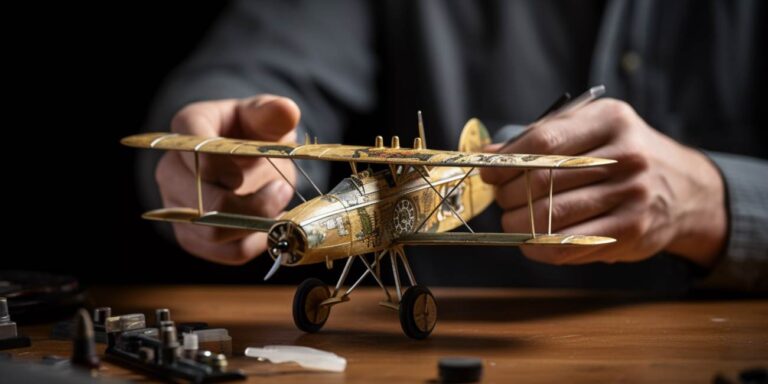
Preparation is key. Begin by cleaning the model to remove any dust or debris. Sanding may be necessary to create a smooth surface. Prime the model with a high-quality primer to enhance paint adhesion and achieve a professional finish.
Once primed, it’s time to choose your paints. Acrylics are popular for their quick drying time, while enamels provide a durable finish. Decide on the color scheme for your aircraft, ensuring historical accuracy or letting your creativity take flight.
Now comes the intricate part – masking. Use masking tape to cover areas you don’t want to paint. This precision ensures crisp lines and prevents color bleed. Patience is crucial at this stage.
Airbrush Techniques:
- Select an appropriate airbrush with the right nozzle size for your model’s scale.
- Thin your paint properly for smooth application, typically using a 2:1 paint to thinner ratio.
- Maintain a consistent distance from the model while spraying, usually around 6 to 8 inches.
- Vary pressure for different effects. Low pressure for fine lines, higher pressure for broader coverage.
Detailing:
Bring your aircraft to life by adding intricate details. Use a fine brush to apply decals, ensuring they conform to the model’s surface. Weathering techniques, such as dry brushing or washes, add realism and depth.
Finishing Touches:
Protect your masterpiece with a clear topcoat. Gloss coats enhance decals, while matte finishes provide a realistic look. Allow sufficient drying time between coats to prevent smudging.
Clean-Up:
Properly clean your airbrush and brushes with the appropriate cleaning solutions. This ensures longevity and optimal performance for future projects.
Common Mistakes to Avoid:
- Skipping the priming step can lead to paint peeling.
- Rushing drying times may result in smudged details.
- Ignoring proper ventilation can lead to fumes and discomfort.
| Step | Description |
|---|---|
| 1 | Prepare the model by cleaning and priming. |
| 2 | Choose and apply the base color using airbrush techniques. |
| 3 | Masking for detailed paint application. |
| 4 | Add decals and intricate details. |
| 5 | Apply a topcoat for protection. |
| 6 | Clean tools and avoid common mistakes for a flawless finish. |
Preparing the aircraft model for painting using primer, sanding, masking
When preparing an aircraft model for painting, it’s crucial to follow a meticulous process that involves several key steps, including priming, sanding, and masking. Each of these stages plays a pivotal role in ensuring a flawless and durable finish.
First and foremost, priming sets the foundation for a successful paint job. Applying a high-quality primer not only enhances paint adhesion but also provides a smooth surface for the paint to adhere to. Choose a primer that is compatible with the type of model you’re working on, whether it’s plastic, resin, or another material. A spray primer is often the preferred choice for its even application and quick drying time.
Once the primer has dried thoroughly, the next step is sanding. This process is essential for achieving a polished and professional look. Use fine-grit sandpaper to gently sand the primed surface, ensuring that any imperfections or rough spots are smoothed out. Sanding also helps to create a keyed surface, promoting better paint adhesion and a more even distribution of color.
Attention to detail is crucial during the sanding process. Pay close attention to areas where the primer may have accumulated unevenly, such as edges and corners. A light touch is often more effective than excessive force, as it minimizes the risk of damaging the underlying model surface.
After achieving a uniformly smooth surface, the next step is masking. Masking involves covering areas of the model that you don’t want to be painted. This is particularly important when dealing with intricate designs or multiple colors. Utilize masking tape to carefully cover and protect specific sections, ensuring clean lines and preventing overspray.
When masking, take your time to precisely outline the areas to be painted. It’s advisable to use a sharp hobby knife to cut the masking tape with precision. Additionally, consider using liquid masking for more complex patterns or irregular shapes, as it allows for greater flexibility and detail.
Before moving on to the actual painting phase, double-check the masked areas to ensure that they are securely covered. Any gaps or loose edges could result in paint seepage, compromising the overall quality of the finish.
Applying the base color coat with airbrush, brush strokes
When it comes to applying the base color coat to your masterpiece, the choice between airbrush and traditional brush strokes can significantly impact the outcome. Each method brings its own set of characteristics to the canvas, allowing artists to express their creativity in unique ways.
The precision and finesse of an airbrush make it a favorite among artists seeking a smooth and uniform application. This high-tech tool atomizes the paint into tiny particles, resulting in a flawless, gradient finish. Artists can achieve intricate details with ease, adding depth and dimension to their work. The airbrush technique is particularly popular in automotive and illustration art, where a seamless appearance is paramount.
On the other hand, the classic charm of brush strokes should not be underestimated. The tactile connection between the artist’s hand and the canvas creates a distinctive texture that adds character and authenticity to the piece. The deliberate, visible strokes carry a sense of emotion and intention, providing a raw and tangible quality to the artwork. Many traditional painters swear by the therapeutic nature of applying color with a brush, relishing in the tactile engagement with their creation.
Choosing between airbrush and brush strokes often depends on the artist’s style, the desired effect, and the nature of the artwork itself. Some artists even combine both techniques, utilizing the precision of the airbrush for intricate details and the expressive quality of brush strokes for broader strokes and background elements.
Consider a scenario where an artist is portraying a serene landscape. The distant mountains might be expertly rendered using an airbrush, creating a realistic and ethereal atmosphere. Meanwhile, the foreground with its wildflowers and bushes could be brought to life with the organic charm of brush strokes, evoking a sense of immediacy and connection.
Artists should also take into account the type of paint being used. While airbrush excels with thin and fluid paints, brush strokes may be better suited for thicker mediums. The choice of surface texture, whether canvas, paper, or board, also plays a role in determining the most suitable technique.
Weathering the model with washes, dry brushing, pigments
Creating realistic and visually appealing scale models involves mastering various techniques, and one crucial aspect is the application of washes, dry brushing, and pigments. These techniques add depth, texture, and weathering effects to the model, bringing it to life.
Let’s delve into the world of washes first. Washes are thin layers of diluted paint that flow into the recesses of the model, highlighting details and creating shadow effects. By using a mixture of water and paint, modelers can control the intensity of the wash, enhancing the realism of the miniature. This technique is particularly effective for accentuating panel lines, crevices, and other fine details.
Now, onto dry brushing, a technique that adds highlights to raised surfaces. This method involves using a dry brush with a small amount of paint, almost like a whisper of color, lightly applied to the model’s surface. The raised details catch the paint, creating a subtle and natural-looking highlight. Dry brushing is an excellent way to simulate wear and tear on edges or to emphasize textures such as rust or chipped paint on armor.
Next in our arsenal of model weathering techniques is the use of pigments. Pigments are finely ground powders that can be applied to the model to simulate various weathering effects, such as dirt, rust, or mud. Modelers often use an applicator or brush to gently dab or streak pigments onto the surface, creating realistic and textured effects. This technique is versatile and allows for customization based on the desired weathering outcome.
Combining these techniques can yield impressive results. For instance, starting with a base coat, applying washes to enhance details, followed by dry brushing for highlights, and finishing with strategically placed pigments for weathering effects can transform a pristine model into a realistic representation of its weathered counterpart.
To illustrate the power of these techniques, let’s consider a scale model of a military tank. The application of washes in the crevices and around rivets creates depth, while dry brushing on the edges simulates worn paint from constant use. Finally, carefully applied pigments can depict mud splatters and dust accumulation, adding the finishing touches to the weathered tank.


